Monday, September 23, 2013

Refurbished Bar Height Chairs

Wow, what an amazing, cheap transformation.  Reupholstering chairs is SO simple.  These are the chairs that came along with the pub table that I recently refinished as well. 


Step 1: Remove the seats from the chair base.  I used my husbands electric drill to remove the screws since they were really in there. 


Step 2: Step 2 really depends on if you want to replace the foam in the seat or not.  I decided that I wanted to, since we bought these on Craigslist and didn't really know who had been sitting on them.. the thought sort of grossed me out. 

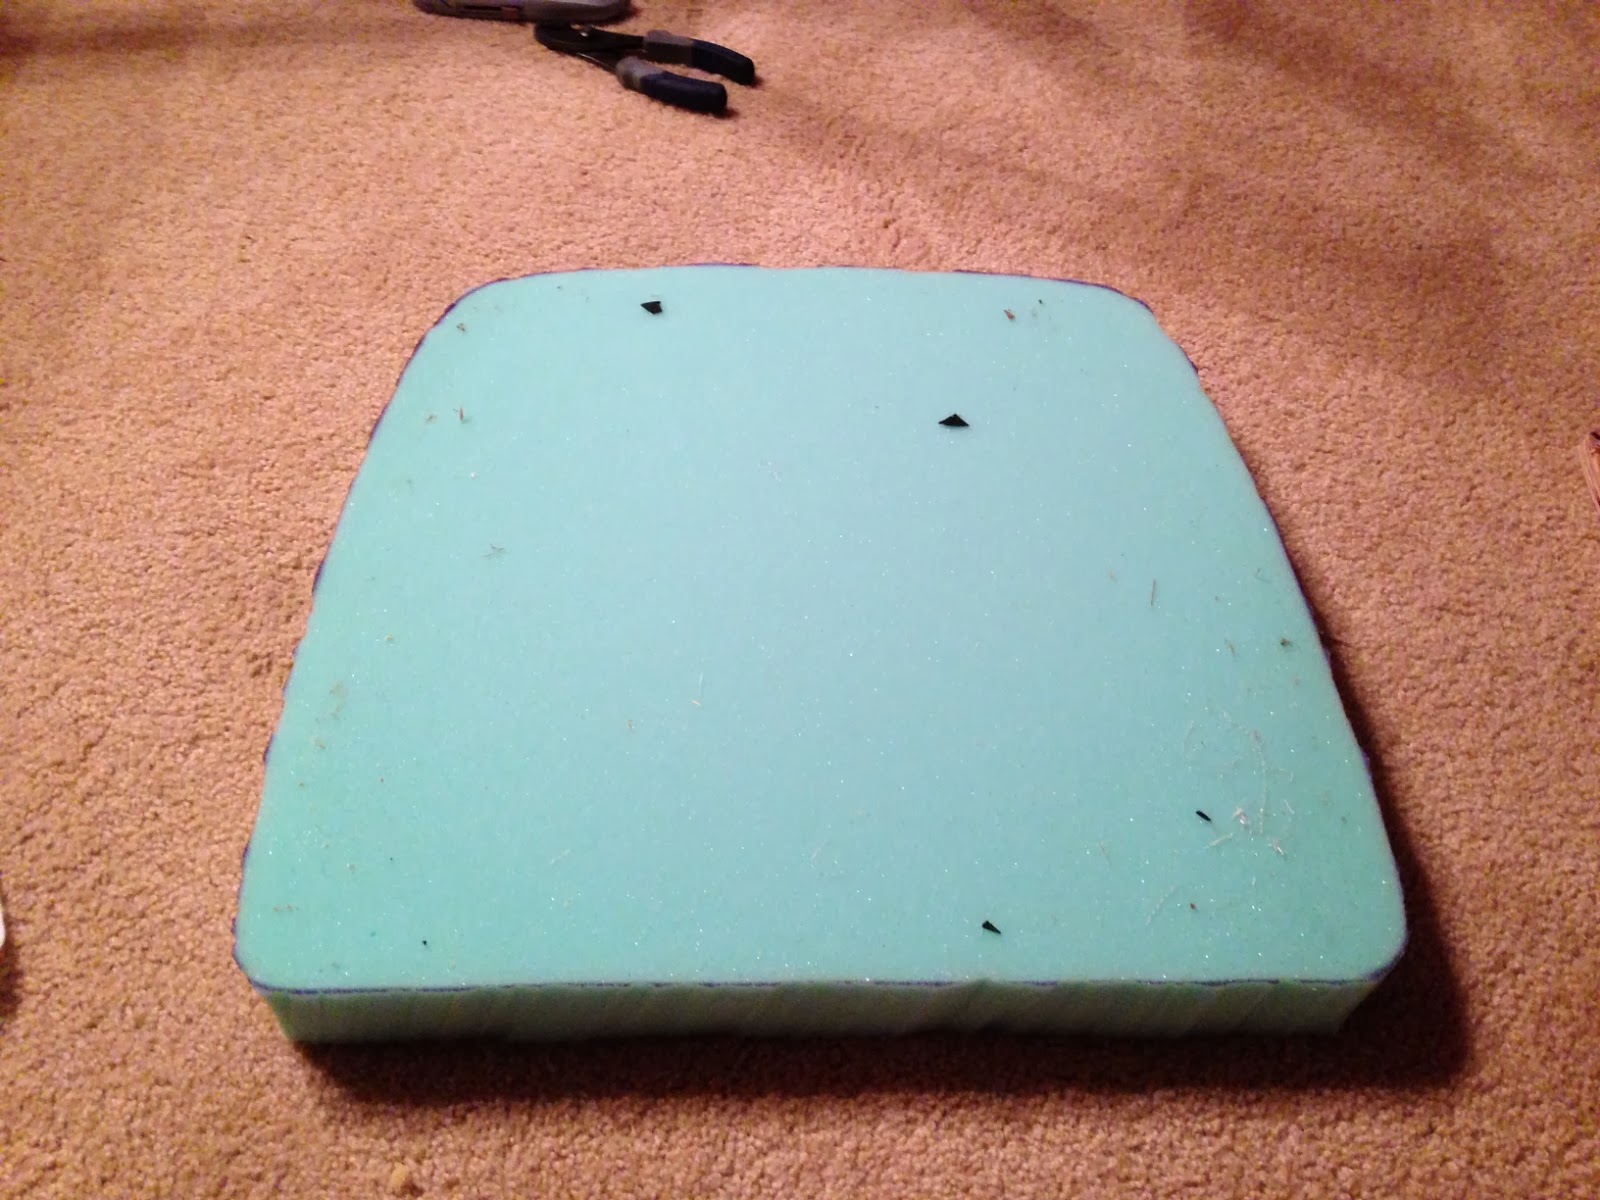
So if you decide to redo the foam, start ripping the seats off with scissors, pliers, whatever you need really.  You just need that wooden base that EVERYTHING is stapled to :)  Don't worry about removing all of the staples, just get as much as you can off of the wood.

The picture below was taken about midway through ripping the fabric and foam off of the seats.  What a chore!  This is probably the hardest part of the whole project.

 
Step 3: Take the new foam out (I bought 2 big squares of 2 inch thick upholstery foam from JoAnn Fabrics), and place the wood base on top of it, upside down so the pretty side of the wood is face up.  Use a Sharpie to mark a line on the foam about a quarter of an inch wider than the wood base.  Use a seraded kitchen knife to cut on the line, to form the seat of your chair. 


 Step 4: Now take the backing or netting and secure it around the foam/wood base with a staple gun.  Make sure it is snug tight!


Step 5: Now, do the same thing with the fabric you picked out.  (Sorry, forgot to take a pic!  I had an audience so I kept forgetting to take photos!)

Step 6: Screw your new reupholstered chair seat back on to the chair frame.  Simple as that! 


~Sunny

Friday, September 20, 2013

White Glazed Dresser

So I'm totally in LOVE with how this turned out.  I can officially say my black obsession has been replaced by COLORS.  If you consider white a color.  I do anyway.  That's something to be proud of, if you've ever seen my house :)  My mom calls me a vampire.  That's always good, right?


The dresser was really beautiful to begin with, but just not my cup of tea.  I decided to go with white, initially to resell it but of course.. I found the perfect place for it to reside. 

Step 1: Sand and prepare the surface, including masking off areas that you don't want painted

Step 2: Start sprayin'!  I used spray paint with a primer, so no need to prime. 


Step 3: After about 5 cans of paint, I decided to add a black glaze all over the dresser.  Mostly because I like the "imperfect," somewhat distressed look. 


Step 4: Add knobs to the drawers!  The drawer pulls that were on the original dresser were hideous, so I found some cheap wood knobs at a local hardware store that I sprayed black. 

 
~Sunny