Sunday, July 7, 2013

Teal French Country Dresser


Some of you probably recognize this dresser from a previous DIY.  For those of you that don't know, I am extremely impatient at times.  At our old house, I had a bottle of incense sticks with the smelly liquid you get at stores like Pier 1, sitting on top of this dresser.  My cat had accidentally knocked it over and spilled it all over the top of the dresser, which left major damage as it ate through the paint.  So, I picked it up, as well as the glass that had been sitting on the dresser.  It left a ring around the bottom of the glass.  I then moved the glass (not thinking) onto the banister in the hallway.  Again, another ring of damage on the banister.  Not so smart on my end!  So, here we are.  Refinishing it, again.  :)  I had been craving using a brighter paint color, and since teal seems to be "in," I decided to give it a shot.  This one I WILL be selling!  I originally bought this one for $125 on Craigslist (it was my first ever purchase).  I just posted on Craigslist for $325. 

Supplies
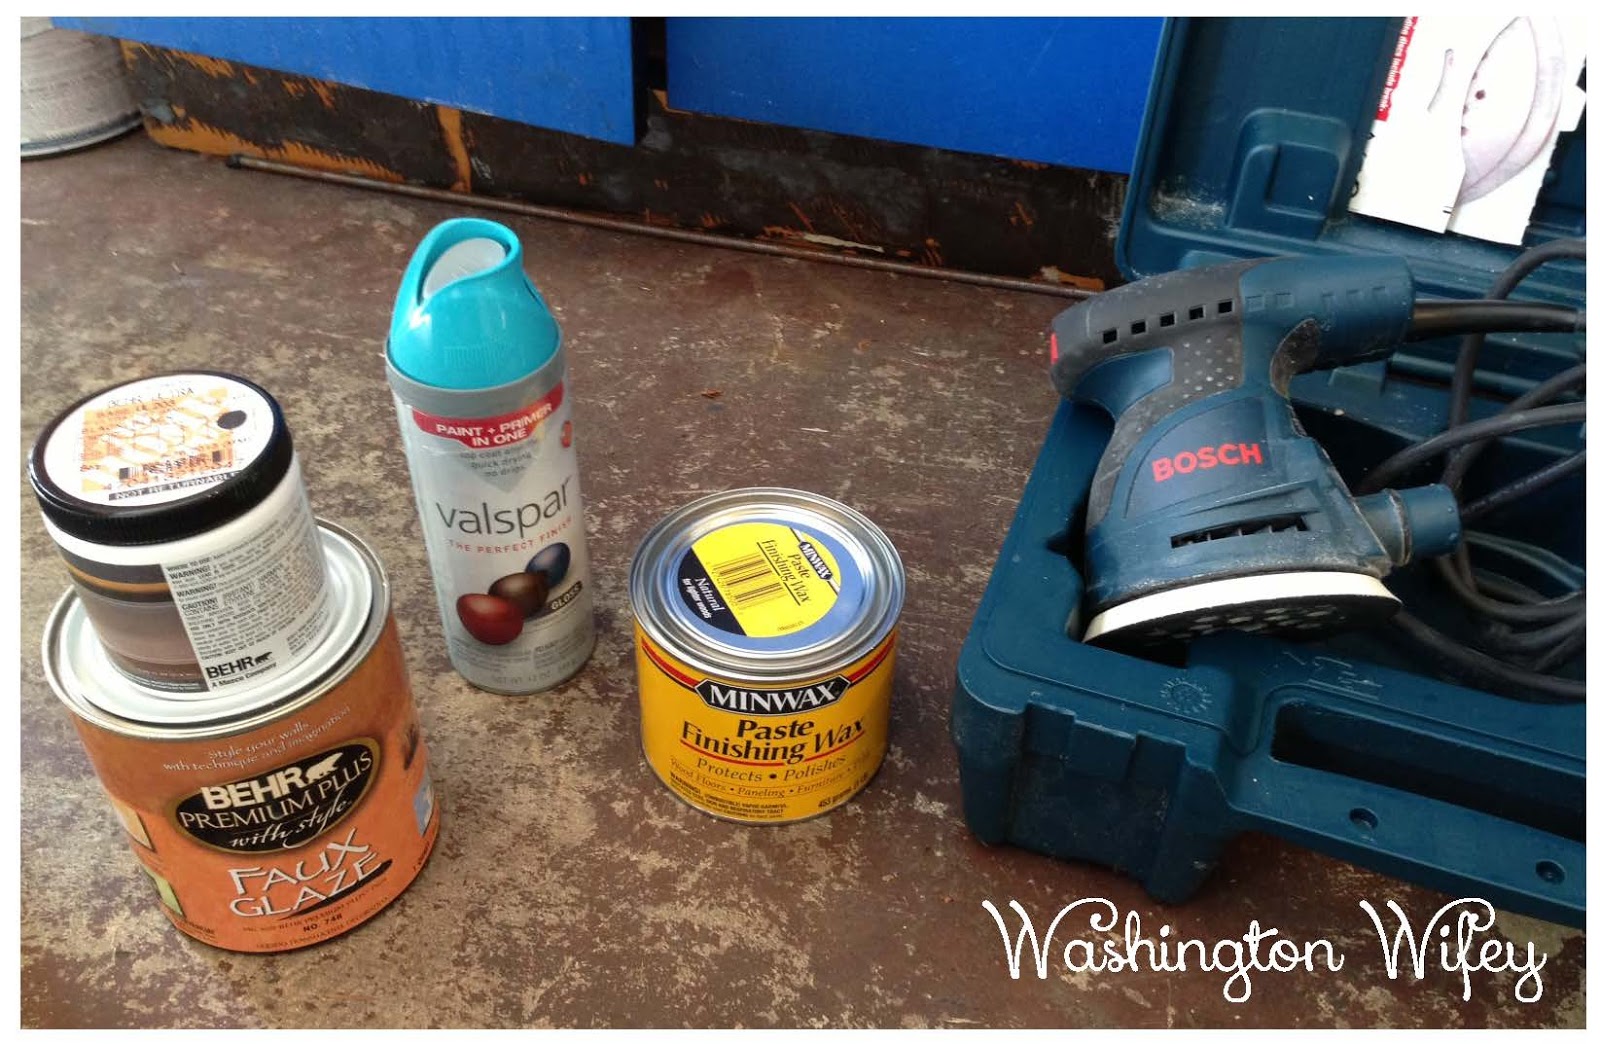
Valspar Teal Spray Paint (I used four cans)
Orbital Sander with a high-grit sand paper
Behr Premium Plus Faux Glaze
Black Paint (just get a small sample of black from Home Depot/Lowes)
Minwax Finishing Paste
Paper Towels (not pictured)
Plastic Cup and Plastic Spoon (not pictured)
Flathead Screwdriver (not pictured)

Step 1: Remove hardware with a screwdriver.  Since mine were already powdercoated white, I didn't need to finish them with anything. 


Step 2: Lightly sand the surface with a fine grit sandpaper.  Spray paint tends to stick better to a surface that is roughed up a bit.  I had to be careful since the top of the dresser is laminate and not wood.  Remove all dust from surface. 

Step 3: Start sprayin'!  I used four cans total.  I waited about 30 minutes in between coats since the Valspar spray paint is very light (I likely won't use this kind again.. it's too "misty").  I only sprayed the surface of the dresser (meaning, not the inside or sides of the drawers, the inside or back of the dresser).  Before I did my last coat, I VERY lightly sanded some of the residue from the spray paint with a very fine grit sandpaper.  Spray paint tends to build up a bit and leaves the surface kind of rough. 


Step 4: Once the paint dries, you will want to mix 1 part black paint with 3 parts glaze.  I mixed these with a plastic spoon in a red Solo cup.  This part is messy, but that's part of the fun and will help you attain that "imperfect" look.  Since the dresser already had quite a few of these imperfections, I thought adding a dark glaze would look great!  Wipe the mixer on one or two drawers at a time.  Wipe it off after 2 minutes with a wet paper towel.  You may need to do this a few times to get the look you want. 


Step 5: After your glaze has dried (wait a few hours), apply a couple of coats of wax to the surface of the dresser. 

Step 6: Put the hardware back on, and wa-lah! 


~Sunny

Friday, June 28, 2013

French Country Hutch Makeover

I've had this piece for a while now, but thought it would be another good one to show-off :)  I bought this hutch on Craigslist for $50.  I use it as craft storage, although it sits right next to our dining room table so I might find a different use for it (once I can find something else to store my crafts in!).  


Supplies:
Orbital sander
150-220 grit sand paper
Black spray paint, gloss finish
Tools for distressing!  (I used a hard blade putty knife)
Screwdriver
Tack cloth

Step 1: Remove all drawers, doors, and hardware (you will need a screwdriver for this). 

Step 2: Start prepping the surface.  I used my orbital sander with 220 grit sandpaper.  I did quite a bit of sanding on this piece, as I wanted the end result to look really smooth with no grain showing through. 


Step 3: Use the tack cloth to remove the sawdust.

Step 4: Start sprayin'!  I used 4 cans of spray paint since I sprayed the entire inside as well. 


Step 5: I decided not to protect this piece, which I may end up regretting.  I may use a wax here shortly to give it some sort of protection.  Depending on the look you want to achieve or how your piece is going to be used, you may want to put a coat or two of poly on. 

Step 6: Alright, the next step is the fun part.  DISTRESSING!  I used a hard blade putty knife to rough up the edges. 

Step 7: Okay, so I'm a bit spoiled and have a powder coater in the family.  I had Tommy's Dad powdercoat the hardware white (including the hinges since they are exposed).  I think it looks pretty neat! 

 
~Sunny

Monday, June 24, 2013

Wine Cork Coasters

I started collecting wine corks a few years ago, and when my jar filled up I thought it would be fun to do something creative with them.  I found the idea to make these coasters on Pinterest, and they are SUPER easy and fun!  These would make an excellent gift for a wine-o.  Just sayin'... :)


Supplies You Will Need:
  • Wine corks (8 per coaster)
  • Scissors
  • Craft glue (you will want to buy glue that dries clear)
  • Decorative ribbon (for the border- I used a thick, red, velvetty ribbon)
  • A heavy book 

Step 1: Make sure the corks you use are all about the same height/width.  Start by gluing pairs of two together, length-wise.  Since I made two coasters, I used 16 corks and glued 8 pairs of two.

Step 2: Once these are dry, glue the end of one of the pairs and stick them to the side of another pair.  Repeat this until your coaster is complete.  Easy, huh?

 
Step 3: Take your ribbon and measure how long you will need in order to place a border around the coasters.  Cut, and glue to the side of your coasters.

Step 4: Since the glue may not be completely dry, they will be kind of flimsy until they do.  Set a book or something flat and heavy on top of them until they are dry.  I did this overnight and they were good to go in the morning!

~Sunny